Doll-making and changing printing scales
After trying the Greta Pocket Rag Doll at 80% (blog post HERE), I had to try it with scaling the printer to a larger size.
I went with 130%. When I sewed the arms and legs I did use a 5/8” seam allowance, instead of the 1/4” that the pattern uses. I wanted the appendages to be thinner, rather than wider. I am sure she would have been darling with either seam allowance!

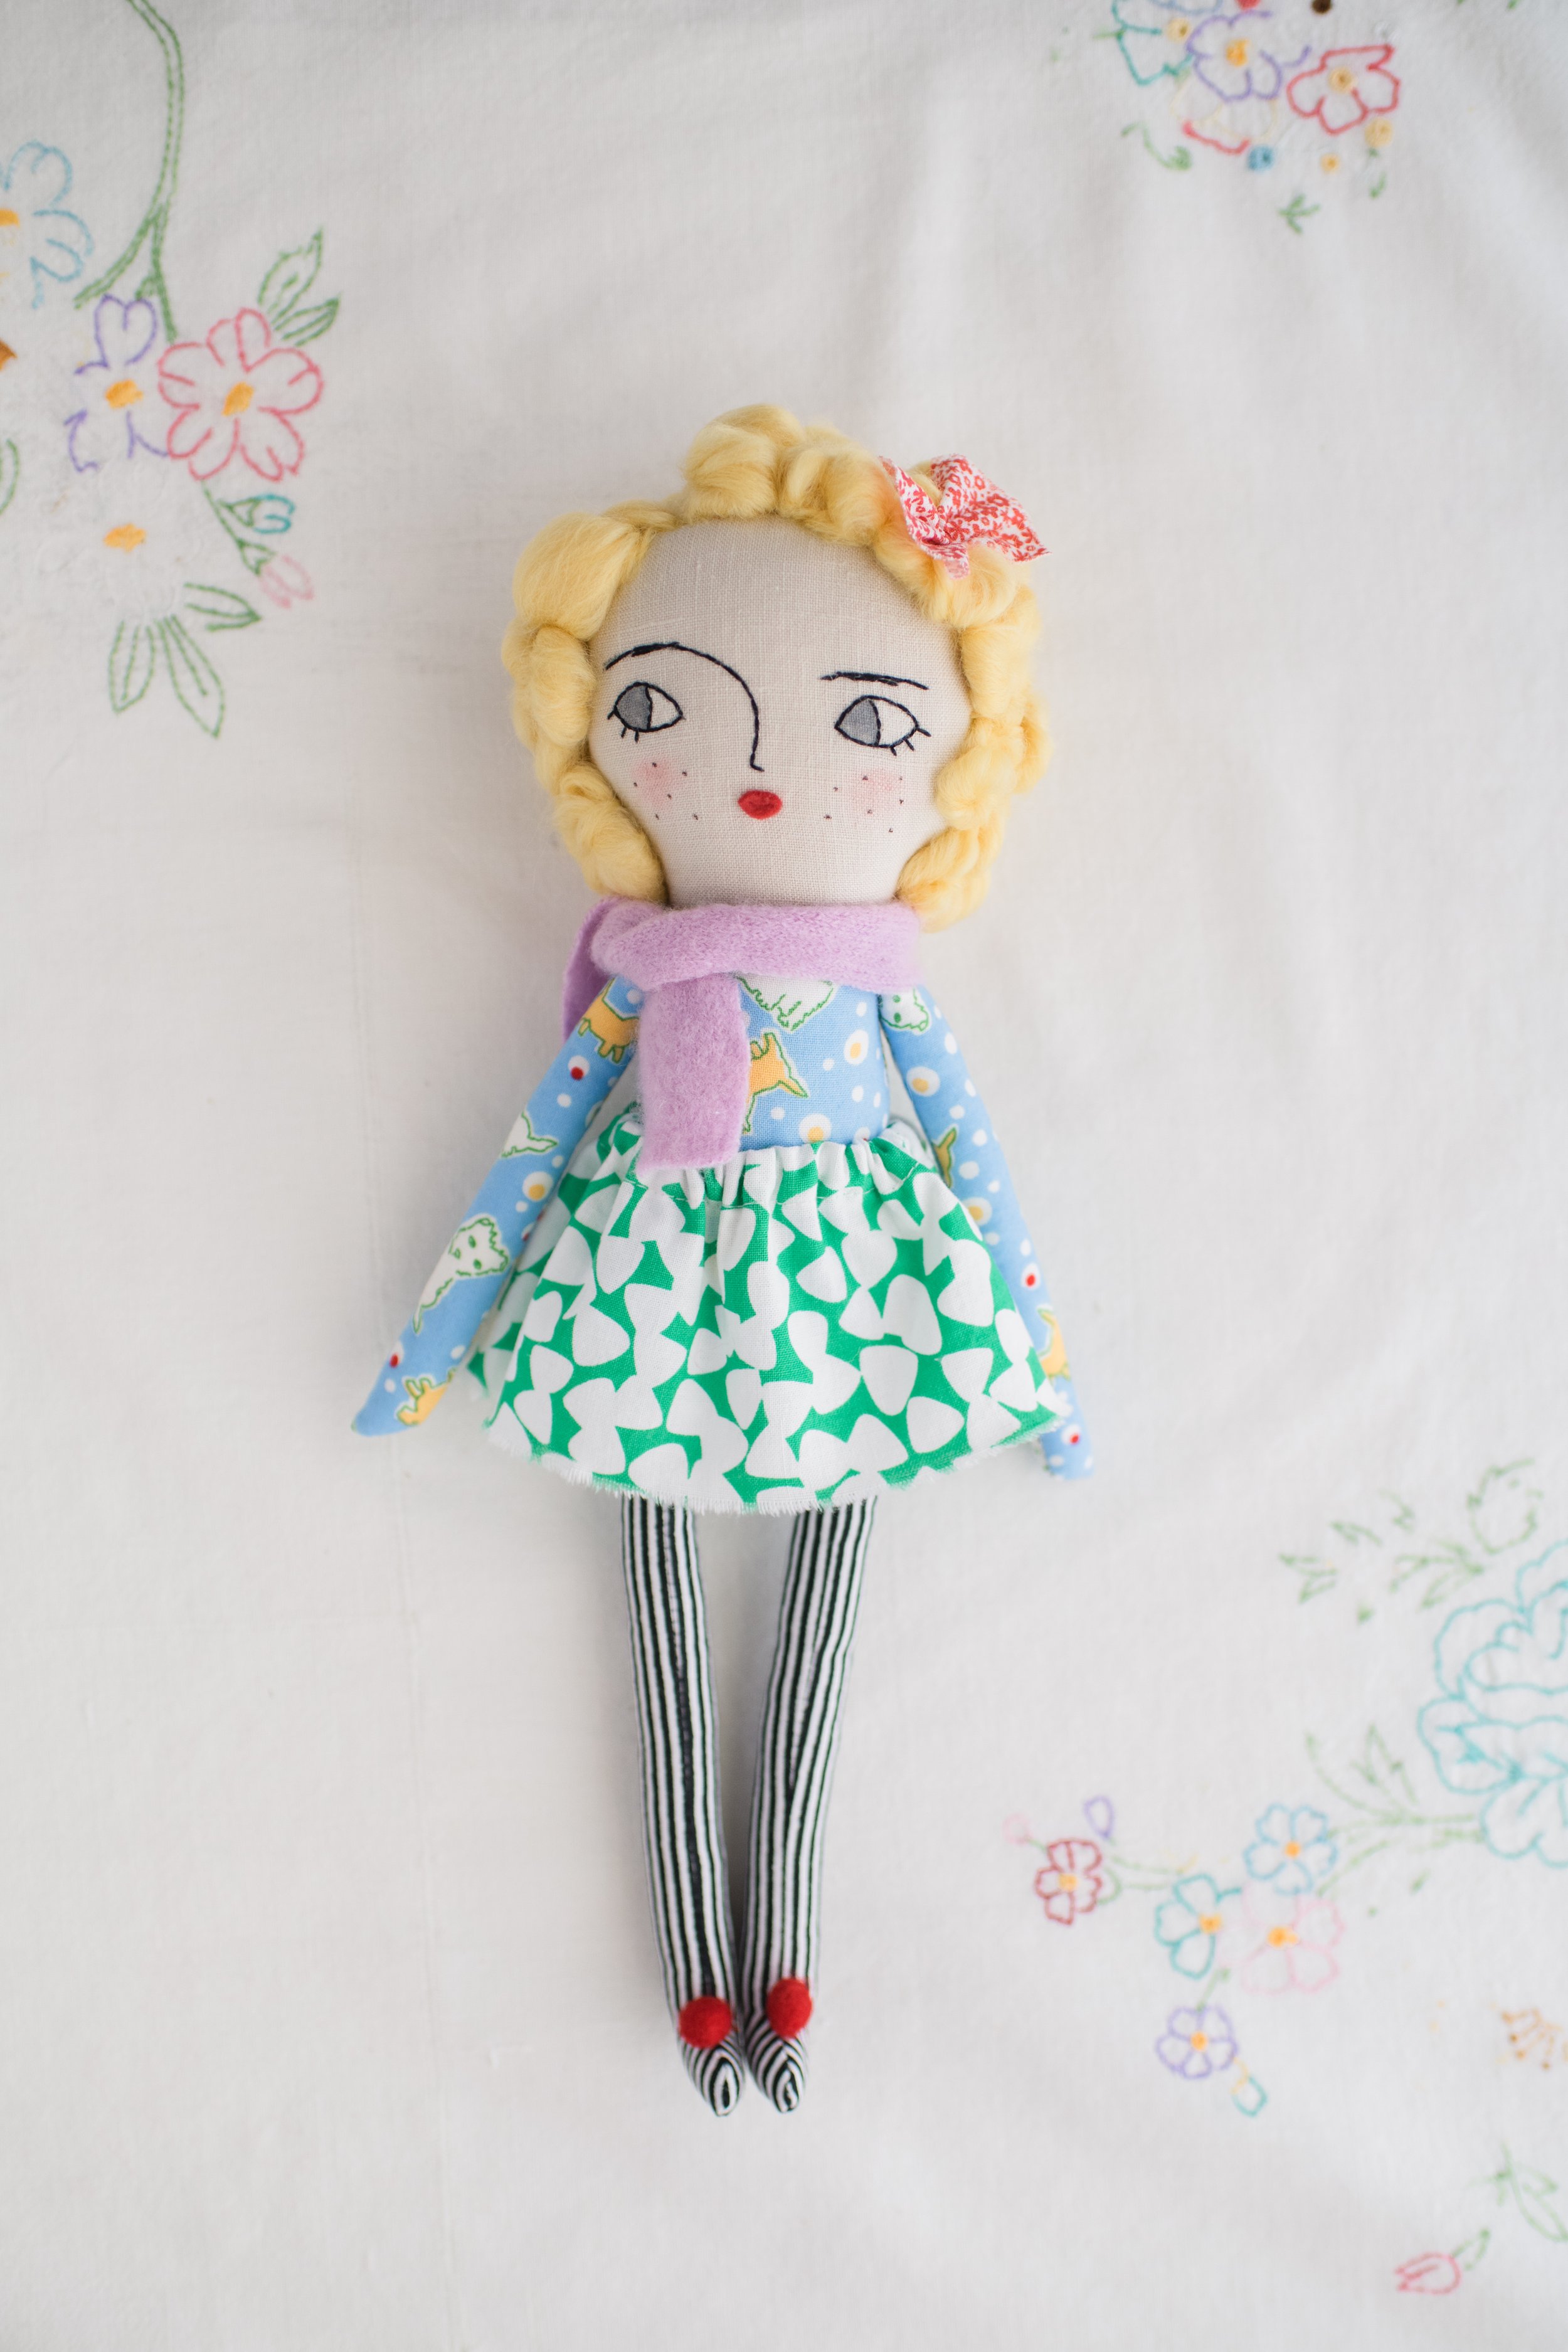
I am so delighted with how the doll turned out! Her hair is needle felted with merino roving wool from Mohair and More in the colour ‘Catkin’. It is the softest roving wool and I love working with it!
For her lips I used felt like in the Whimsy Rag Doll Pattern instead of embroidering them.
I also had some fun with her eyes! I love how curious the side glance is… I used acrylic fabric markers for the iris and freckles, and a Staedtler pencil crayon for the rosy cheeks.
If you are going to needle felt with roving wool for the doll hair, there are a couple things to keep in mind. The stuffing inside the doll needs to be able to ‘catch’ the wool as it is poked through - so use poly or wool stuffing, not cotton. If the doll is intended for play, it is a good idea to tack the wool down with a matching thread once you have needle felted it.
One more note!
I used linen for her skin base and linen is SHIFTY. I used a light-weight fusible interfacing to make it easier and add structure. This is not required - it really depends on the look you are going for! Not using an interfacing when sewing with linen for a doll can give a more organic, raw look to the doll.
Happy Making!
xo, Kyla