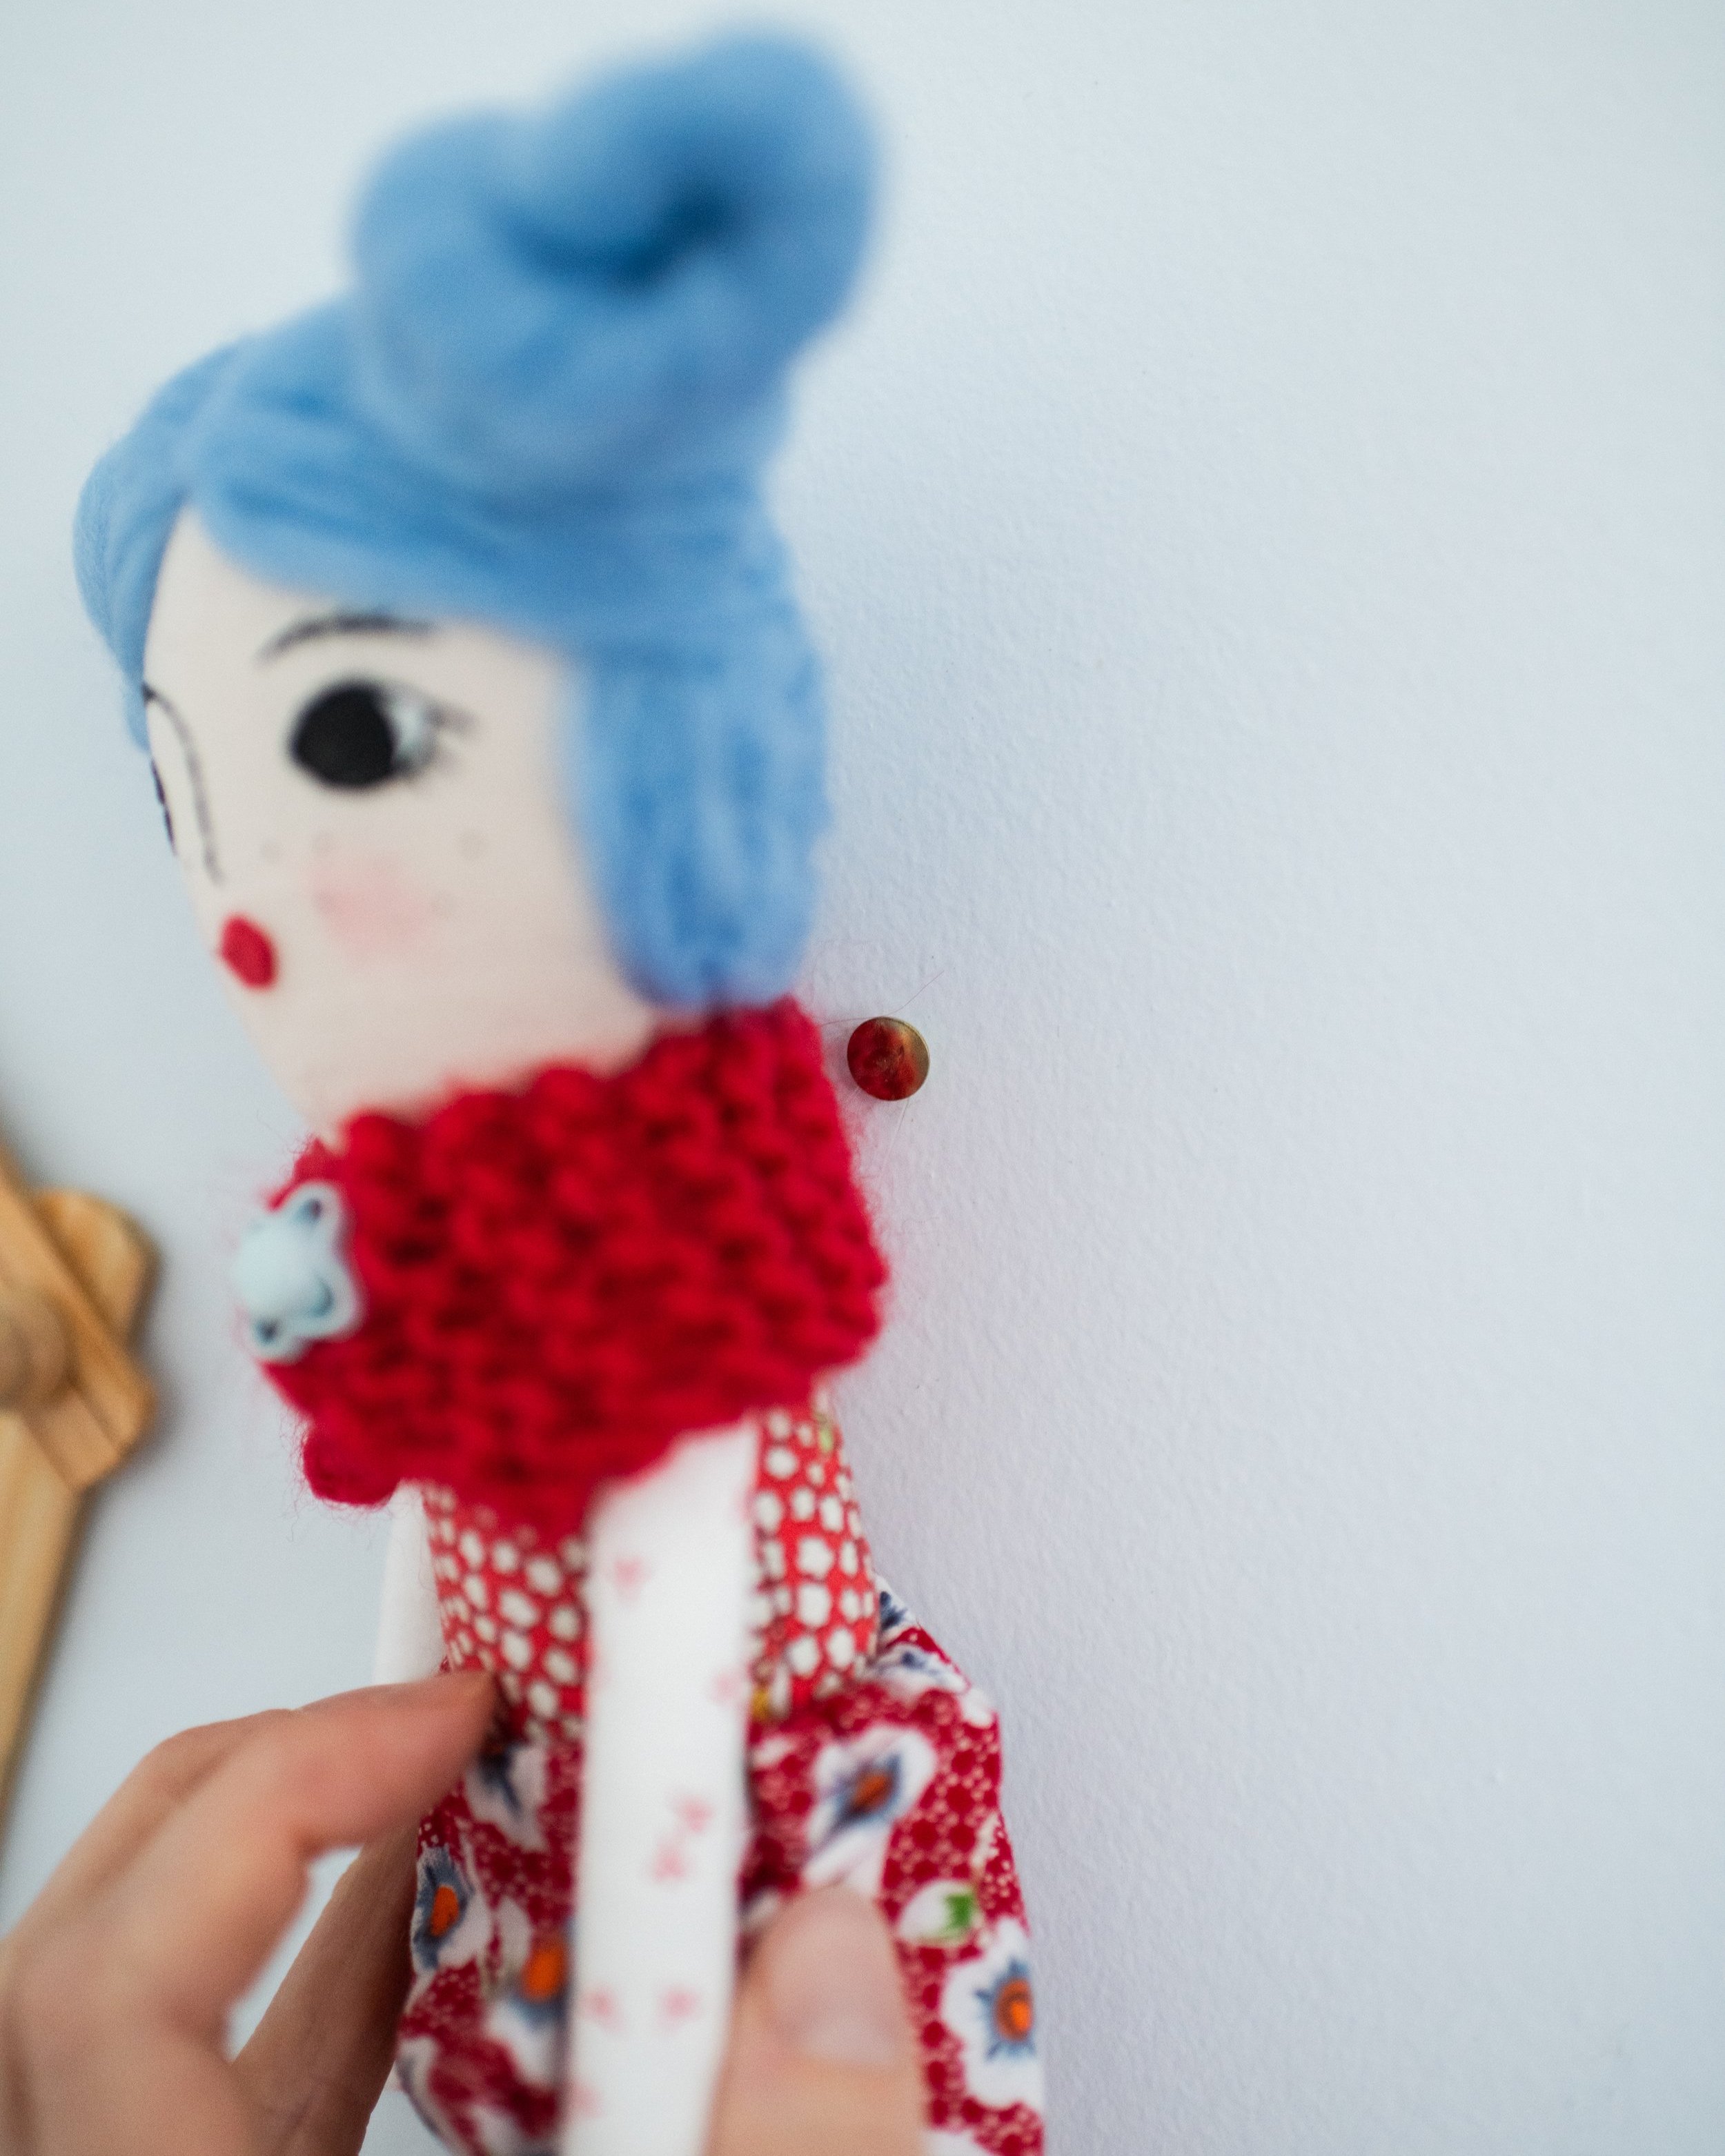
How to hang an ART DOLL on the wall…
I firmly believe the world needs more dolls affixed to walls. Ever since hanging my first one, I am astounded that it took me so long to do it in the first place.
Dolls make lovely constant companions. I have every intention of being a crazy doll lady as I get older, in lieu of a cat lady.
Nina (the lovely doll pictured) needed a cowl and I had just the yarn to do it. I had picked up some Retreat Roving Yarn at my local yarn store. Ever since then, it has been calling my name, begging to be made into something lovely.
For the cowl I used size 6.5mm needles, with 6 stitches casted on. The cowl is a simple garter stitch knitted until the piece was long enough to fit around Nina’s neck. The button was added as I was weaving in the loose yarn ends. Voila! A darling cowl for a darling doll.
Nina was made using the Greta Pocket Doll Sewing Pattern. I increased the print size to 130% (wild, I know). The base of her eyes were painted with fabric paint - there is a tutorial for this in the My Doll Sewing Pattern!
To ensure Nina and I had the opportunity for constant conversation, I decided to affixed her to my wall. I cannot help but smile every time my gaze falls her way.
To ATTACH A DOLLl on a wall, you will need:
clear stretchy cord. The kind used for making bracelets. I bought mine from Michaels. I used 0.5mm in this tutorial, however it is rather thin - I would definitely recommend using a heavier cord, like 1mm thickness.
a tack
Wrap the cord around the doll, just under the arms. It should fit snugly, otherwise the doll will droop.
Tie in a knot. Stretchy card is notorious for being difficult to knot properly. Use a square knot and make sure it is pulled tight!
We will be using the wrapped cord to hang onto a thumb tack.
Determine where you would like to hang your doll.
Insert the thumb tack into the wall, leaving just a little space between the wall and the flat tack top.
Hook the elastic over the tack.
Push the tack securely to the wall.
DONE!!!


